
Where is the latest version of the cable list? Is it the one on the server, the one in your email, or the one saved on the lead engineer’s desktop?
For most Design Engineers and Project Managers, the answer is uncomfortably close to the latter. The technical data lives in one system, the cable list is a massive Excel file, equipment statuses are tracked in a separate log, and progress reports are manually compiled from emails and paper forms. There is no single place to see a complete, reliable, and up-to-the-minute picture of the project.
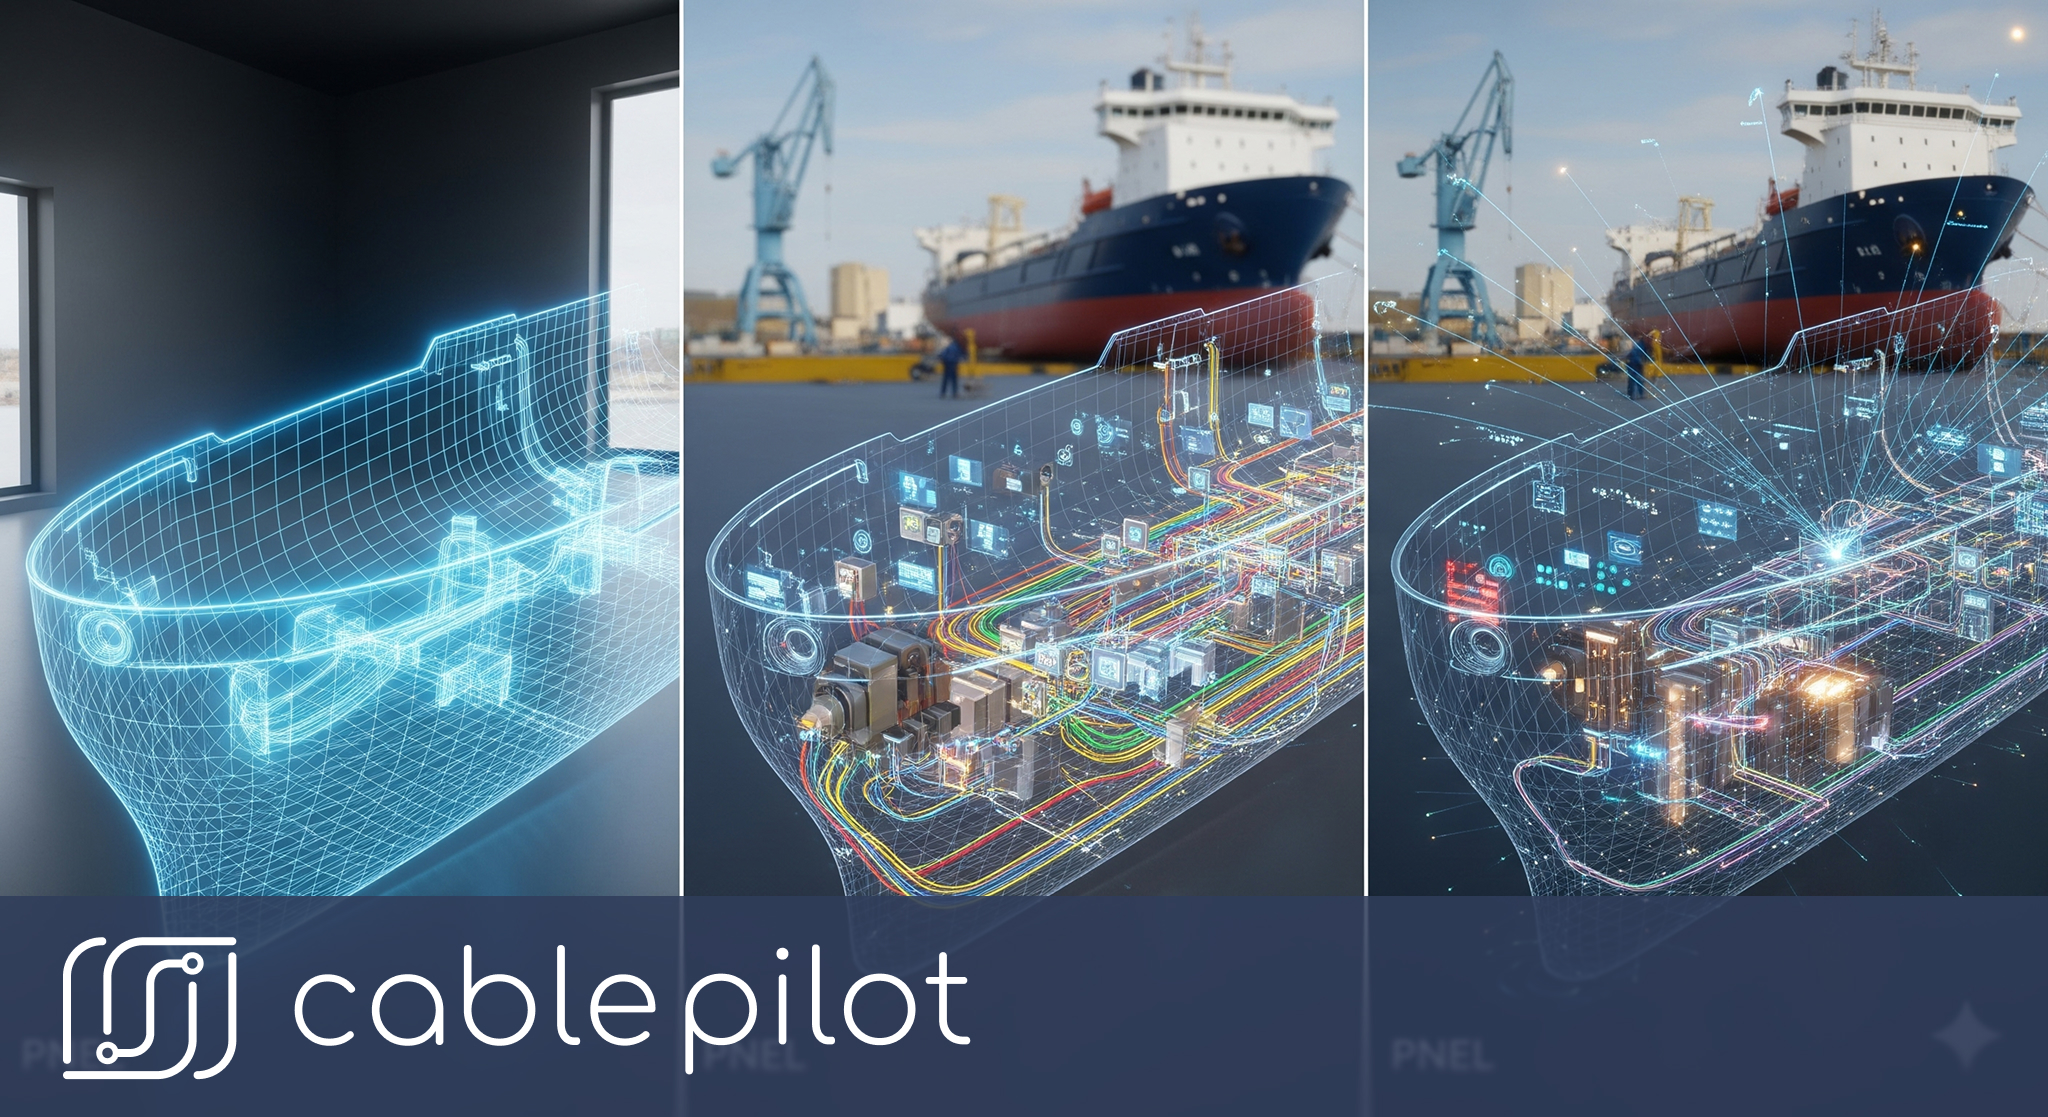
Digital twin shipbuilding represents a transformative approach to solving these challenges.
This isn’t just an inconvenience. This data fragmentation is a direct threat to your project’s success. It’s a breeding ground for miscommunication, rework, and costly errors that emerge when teams work from different versions of the truth.
The solution is to create a Digital Twin—not as a complex, academic concept, but as a practical, powerful Single Source of Truth. Let’s be clear: this isn’t about creating a photorealistic, multi-million dollar 3D rendering. It’s about building a practical, data-centric model that connects every piece of information to a single, reliable source.
Forget the intimidating jargon. In this guide, we will show you how to build a functional digital twin for your project in three logical, achievable steps. This isn’t about theory; it’s a concrete action plan that will transform your data chaos into a predictable, manageable, and highly valuable asset.
Step 1: Build the Skeleton — The Physical Hierarchy
Every powerful digital twin starts with a logical skeleton. This isn’t just about organization; it’s about creating a navigational map for your data. By mirroring the vessel’s physical hierarchy, you ensure that every piece of information has a home, making it instantly findable and context-aware.
The Challenge: How does a digital system understand the physical layout of a complex vessel?
The Solution: You build or import a clear, logical hierarchy that mirrors the ship’s construction. This process creates the foundational context for all subsequent data.
How to do it in a platform like Cable Pilot:
- Define Major Areas: In the project structure module, you start by creating the primary zones of the ship. This breaks the massive project down into manageable, high-level blocks. Usually those are the construction areas defined by technology.
- Create Decks: Additionally to an areas, you define the specific decks. This adds the vertical dimension to your project’s skeleton.
- Specify Compartments: Finally, on each deck and area, you create the individual compartments or rooms. This is the most granular level of the physical hierarchy.
The Result: In a short amount of time, you have created a logical, navigable “skeleton” of your project. You haven’t just made a list of locations; you have built the structural foundation of your single source of truth. Every asset you add from now on will “know” exactly where it belongs in the physical world.
Effective construction data management is essential for the seamless operation of every shipbuilding project.
Step 2: Populate the Organs — The Project Assets
With the skeleton in place, it’s time to give your digital twin its “organs”—the thousands of individual assets that make up the project. This step breathes life into your data. It transforms a ‘dead’ line item in a spreadsheet—a static piece of text—into a ‘living’ asset within the system. This new digital object can have a history, track its own status, and hold all related documents, turning passive information into an active tool.
The Challenge: How do you migrate thousands of lines from a cable list or equipment list without losing data or spending weeks on manual entry?
The Solution: You use an intelligent import tool that not only transfers the data but also understands its context and automatically links it to the hierarchy you just built.
How to do it in a platform like Cable Pilot:
- Upload Your Files: Simply upload your existing cable list and equipment lists in a standard format like Excel.
- Intelligent Mapping: The system’s AI-powered importer analyzes your columns and suggests how to map them to the platform’s data fields (e.g., mapping your “Cable Name” column to the system’s “Cable ID” field).
- Automatic Linking: During the import process, each asset (a cable, a switchboard, a sensor) is automatically linked to the correct compartment, deck, and area you defined in Step 1. The system reads the location data from your source file and places the asset in its proper place within the digital twin’s skeleton.
The Result: Your digital twin is no longer an empty frame. It is now populated with thousands of intelligent assets. Every cable, every piece of equipment, and every component is a distinct digital object with its own attributes, history, and—crucially—a precise, known location within the project’s hierarchy. Your flat files have been transformed into a rich, interconnected 3D data model.
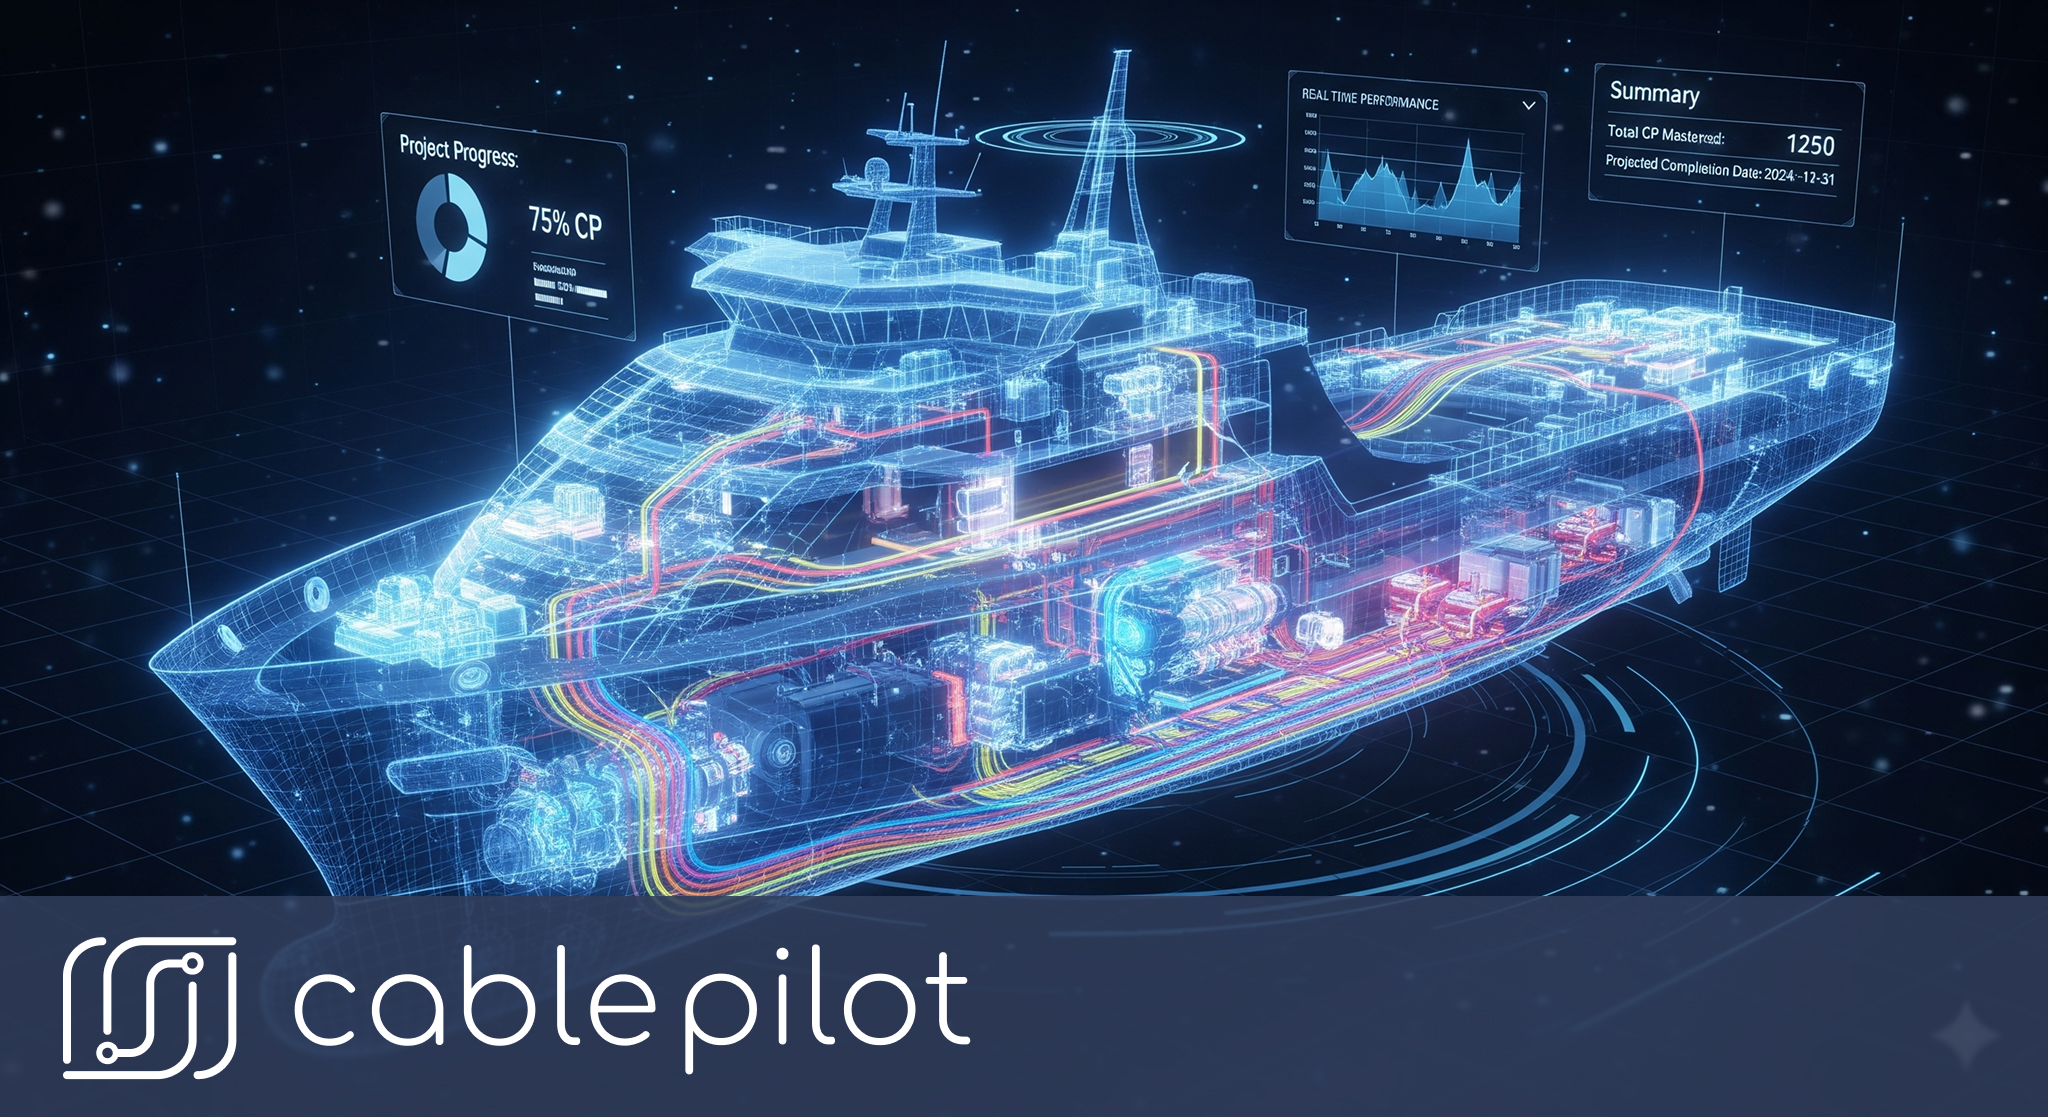
Step 3: Activate the Nervous System — The Live Data Stream
A static model, no matter how detailed, is just a snapshot in time. It becomes a true, living Digital Twin only when it starts receiving real-time data from the physical worksite. This is the final step: activating the “nervous system” that allows your digital model to see, hear, and feel what is happening on the shipyard.
The Challenge: How do you ensure the data in your system is always up-to-date, reflecting reality second by second?
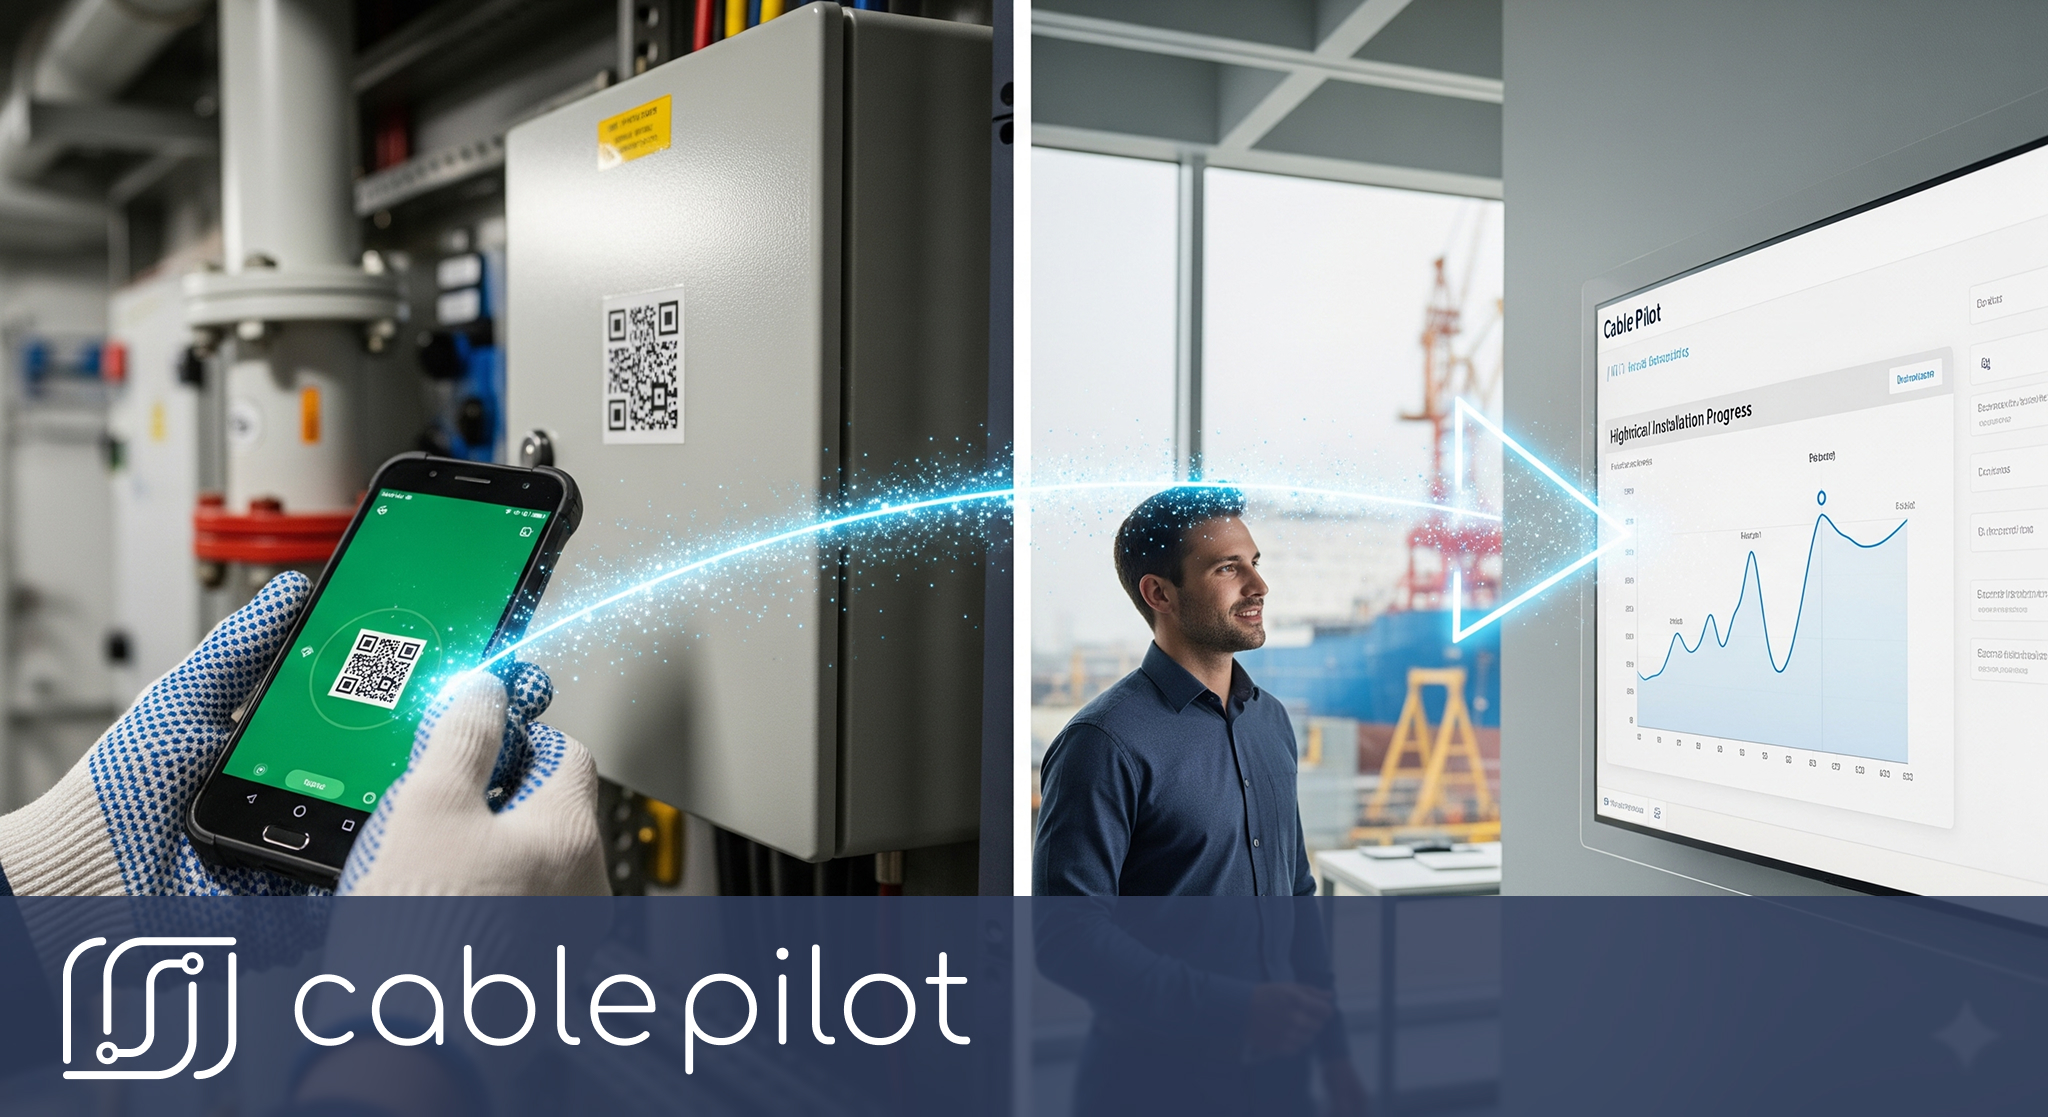
The Solution: You empower your on-site team with simple mobile tools that turn physical actions into instant digital updates.
How to do it in a platform like Cable Pilot:
- Deploy QR Codes: Print durable, weatherproof QR codes and place them at key points on the worksite—on major pieces of equipment, at the entrance to compartments, and on work packages. Each QR code is a unique digital “address.”. Purchase the cables by the supplier with labels containing unique QR code of the cable.
- Equip Your Team: Provide your installers and supervisors with access to a simple mobile app on their smartphones or tablets.
- Enable Instant Updates: When a worker completes a task (e.g., installs a piece of equipment), they perform a simple 10-second scan. The app recognizes the location or asset and allows them to update its status with a single tap.
The Result: You have created a closed-loop system. The digital twin now has a nervous system. Every scan from the field is a signal that travels instantly to the central model, updating the status of the corresponding asset in real-time. Your single source of truth is no longer just a model; it’s a living, breathing reflection of your project, evolving in lockstep with the work being done.
Conclusion: From a Collection of Files to a Single Organism
Building a Digital Twin is not an abstract, impossibly complex endeavor. It is a logical, three-step engineering process:
- Build the structure.
- Populate it with assets.
- Connect it to reality.
By following these steps, you transform a chaotic collection of disconnected files into a single, cohesive, and intelligent whole. You create a Single Source of Truth that eliminates ambiguity, reduces errors, and gives every member of your team—from the installer on deck to the manager in the office—the clarity and confidence they need to make better decisions.
By using this digital twin system, teams benefit from transparent real-time status reports that reduce errors. You’re not just building a ship; you’re building a command center. You’re moving from being a data janitor, constantly cleaning up messy information, to becoming a data-driven strategist with total project awareness.
Ready to start building your own Single Source of Truth? Download this guide as a PDF to use as a checklist for your next project.
Pingback: 5 Essential Marine Electrical Systems And Safety Compliance Guidelines
Pingback: Installation Error Prevention: 5 Essential Automated Rules